Java 11 removed auto-update capability for Windows and MacOS systems. You will need to manually check when new versions of Java 11 are released.
Java and Eclipse Setup
This guide will walkthrough the steps necessary to install the latest versions of Java and Eclipse on your local system.
Install Java 11
You need to make sure you have the latest version of Java Standard Edition (SE) Development Kit 11 (JDK 11) installed on your system. When downloading, keep in mind:
-
Do NOT download Java 8. We will be using Java 11 in class. There are some differences between Java 8 and Java 11, and the lecture code may not compile on your system.
-
Do NOT download Java Enterprise Edition (EE). We will be using the Standard Edition (SE) in class. Java EE is used to create enterprise applications.
-
Do NOT download just the Java Runtime Environment (JRE). The Java Development Kit (JDK) includes the JRE, which is necessary to run Java code. The JDK also includes the Java compiler, which we will need in class.
To install the Java SE 11 JDK, go to:
https://www.oracle.com/technetwork/java/javase/downloads/index.html
Click the “JDK Download” button for Java SE 11, accept the license agreement, and download the appropriate file for your system. Run the installer and follow the prompts.
Once done, open a terminal window and verify the version using java -version and javac -version. The output will be similar to:
$ java -version
java 11.0.2 2019-01-15 LTS
Java(TM) SE Runtime Environment 18.9 (build 11.0.2+9-LTS)
Java HotSpot(TM) 64-Bit Server VM 18.9 (build 11.0.2+9-LTS, mixed mode)
$ javac -version
javac 11.0.2
Note that $ above indicates the command prompt, and the lines below that are the output.
Install Eclipse

You need to make sure you have the latest Eclipse IDE for Java Developers package for Eclipse 2018-12. The direct download link is:
https://www.eclipse.org/downloads/packages/release/2018-12/r/eclipse-ide-java-developers
Do NOT download the IDE for Java EE Developers, as we are using Java SE in class. There are installers available for Windows, Mac OSX, and Linux. Once downloaded, double-click the installer.
Setup Folders
I recommend you create a CS 212 folder, and within it create these subfolders:
Workspace: This will be the folder for your Eclipse workspace.Repositories: This will be the folder for your GitHub repositories that will be used for homework and project submission (and Eclipse).Libraries: This will be the folder for your user libraries that will be installed in Eclipse. This folder will start empty, but will grow throughout the semester.
Eclipse does not behave well when you combine or nest the Workspace and Repositories folders. Keep these separate!
Configure Eclipse
Eclipse is a free, powerful, open-source, and configurable IDE. I recommend you spend some time configuring Eclipse to meet your needs. For example:
-
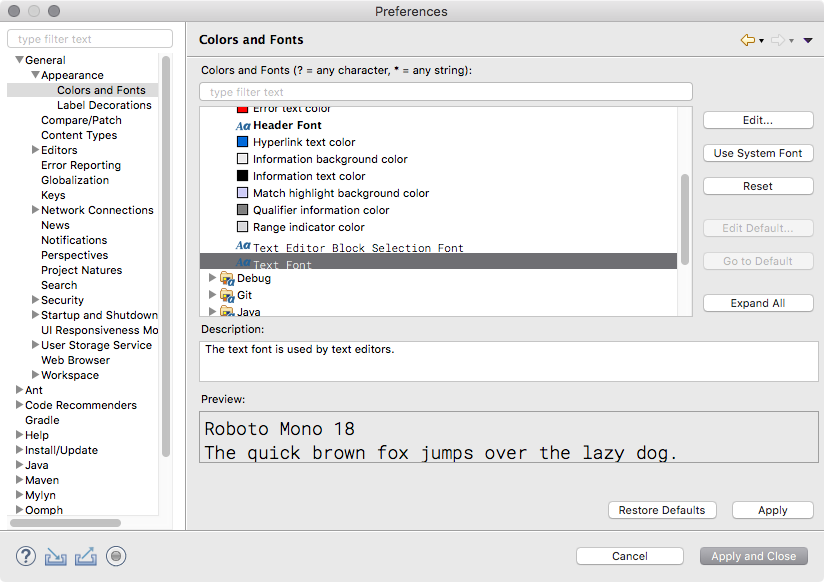
Change the fonts used in the editor (reference). You can find several options on Google Fonts. My favorites are Source Code Pro Light, Roboto Mono Light, Anonymous Pro, and Incosolata. There are many fans of the customizable Input font as well.
-
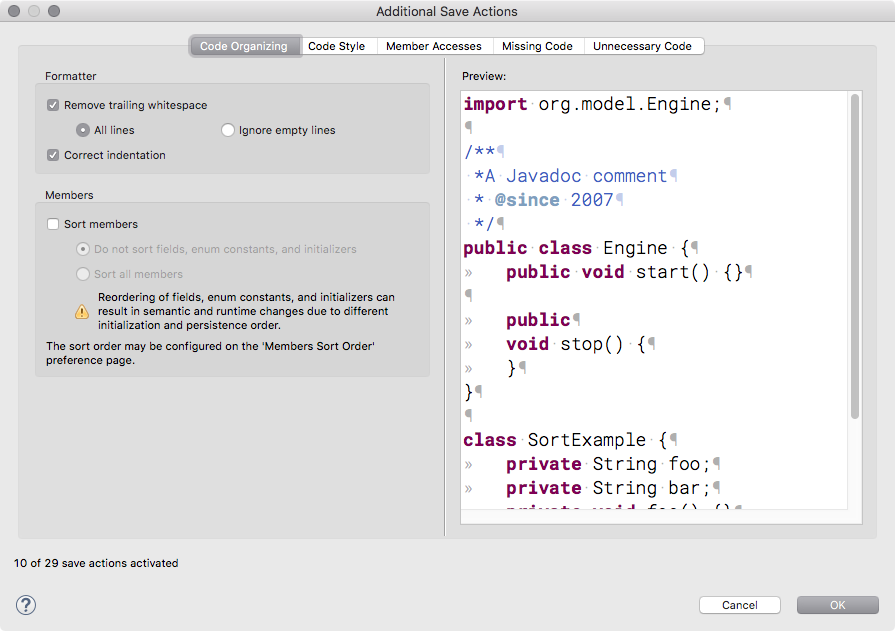
Change your save actions (reference). I usually remove unused imports and fix indentation at least.
-
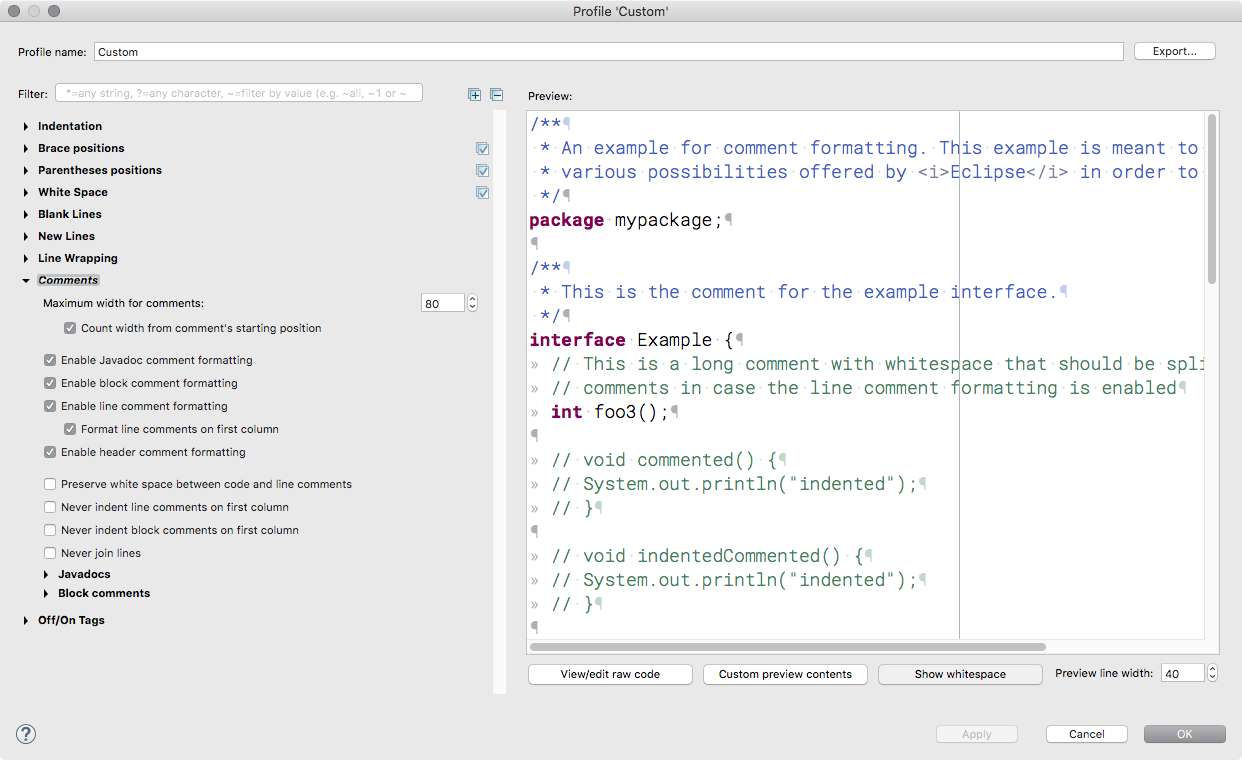
Change the code formatter (reference). You can set the brace style, where newlines and spaces are used, and fix how Eclipse formats try-with-resources code blocks.
-
Customize the autocomplete code templates (reference, examples). I usually create one for printf myself.
-
Change the layout and add different views. I usually add the Tasks view, which shows me all of my
TODOcomments.
The official guides for Eclipse are located at:
https://help.eclipse.org/2018-12/index.jsp
Keep in mind that Eclipse is under active development, and bugs happen.